Project Savage: Rear Sight Removal
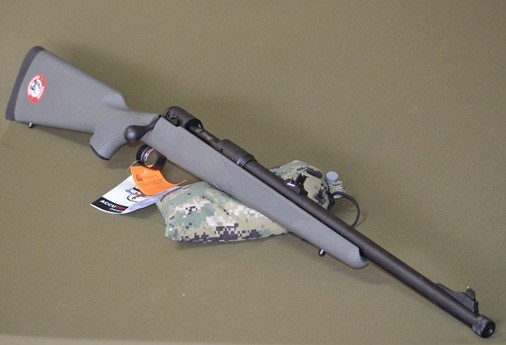
The Savage Hog Hunter is factory shipped with iron sights for short range shots. One option was to keep the iron sights as backup in the case of an optic failure however because this rifle is being built primarily as a training platform, there is no need for the irons. Additionally, the OEM irons are somewhat entry level and removal is straightforward so they will be removed.

Before starting work on any firearm be sure that the firearm is clear. Do not touch the trigger until the firearm has been cleared. Inspect the chamber to ensure that it is clear of ammunition and that there is no ammunition positioned to be chambered. If possible, remove the bolt from the rifle before starting work. Do not keep live ammunition near your work-space Once you have checked the firearm, check it again! And again!
Tactical Works, Inc. takes no responsibility for the accuracy and/or safety of this “how to”. This post is simply for your reading enjoyment. Before shooting any firearm have it inspected by a qualified gun smith.
Tools:
- Small Standard Screw driver
Total Time:
- Work Time: 10 minutes
- Total Project Time: 10 minutes
Step 1: Rear Sight Removal
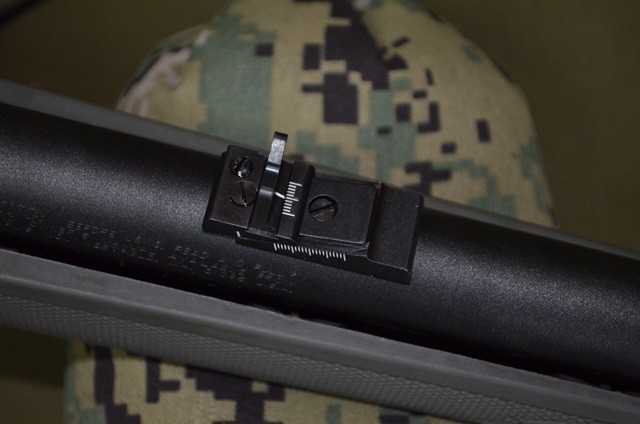
Removal of the rear sight on the Savage Model 11 Hog Hunter is pretty straight forward. There are two screws on the sight. The smaller of the two screws loosens the top of the sight from the sight base to allow for elevation adjustments. This screw once loosened, will allow the top of the sight to slide free from the sight base. The second screw allows for windage adjustments. Once loose the sight leaf can be adjusted left or right for windage. The windage screw does not need to be loosened for removal of the sight. Back off the elevation adjustment screw and slide the top of the sight down to expose the screw that holds the sight base to the barrel.
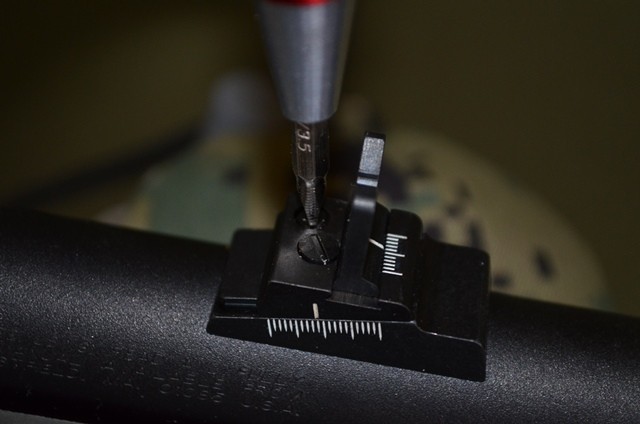
Once the top of the sight is slid down the screw that fastens the sight base to the barrel is exposed.
Using a small standard screw driver remove the screw.
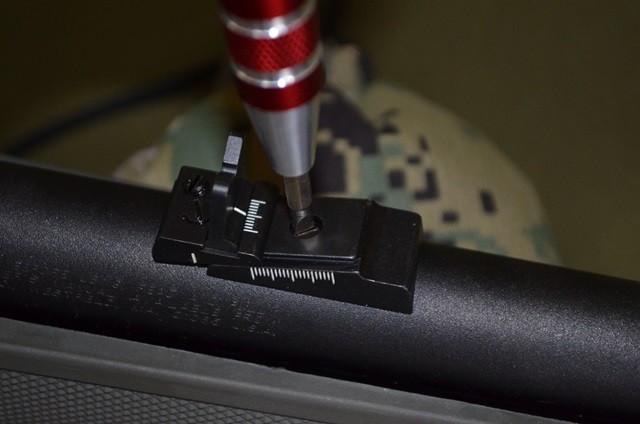
Once the sight base fastening screw is removed the sight base should be easily removed from the barrel. If the sight holds to the barrel it may be necessary to “tap” the sight with a non marring tool. In some cases there may be a small amount of epoxy holding the sight base to the barrel. In this example the sight base was free from the barrel as soon as the screw was removed.
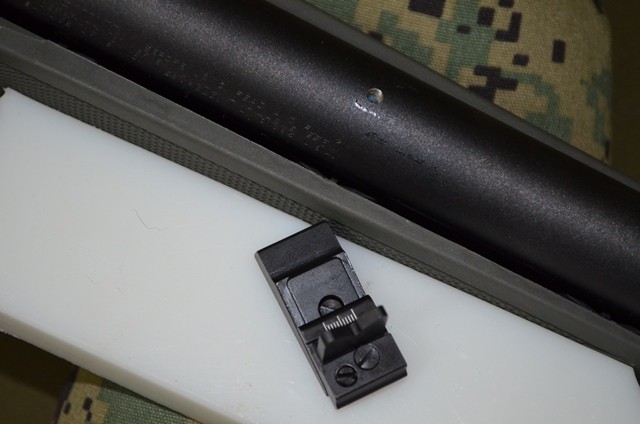
Removal of the rear sight complete. These sights were kept and simply dropped in a baggie for future use.
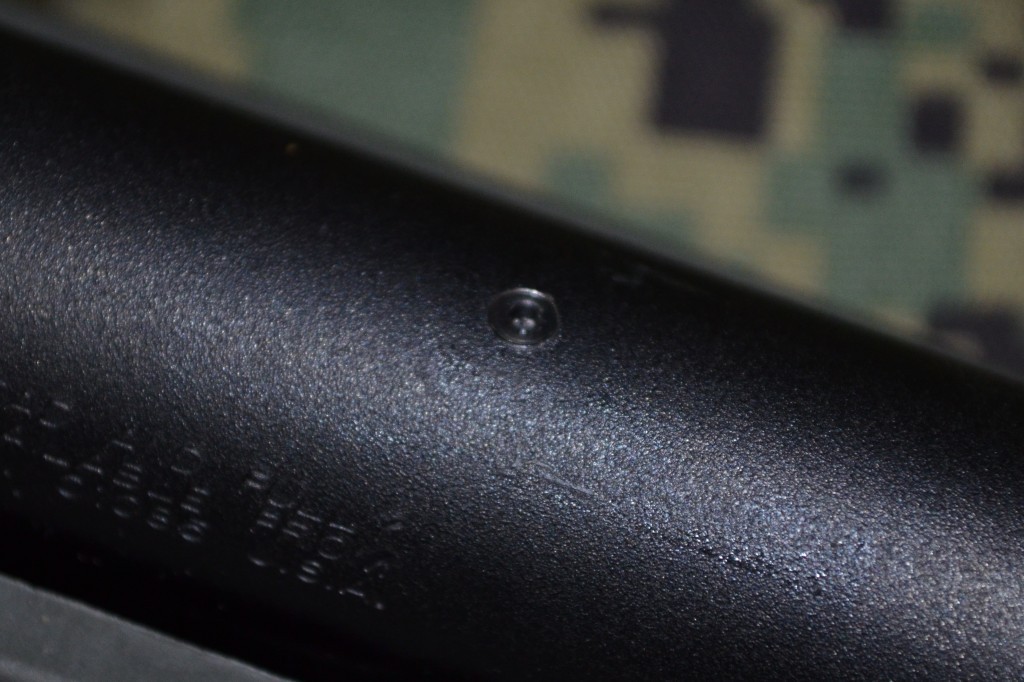
Because the sights may be re-installed at a later date the threaded holes in the barrel will simply be protected by reusing the receiver plug screws that are installed at the factory. The receiver plug screws are shorter than the holes are deep so it is suggested that a little Loctite is used to keep them at the proper depth and to keep them from wandering out.
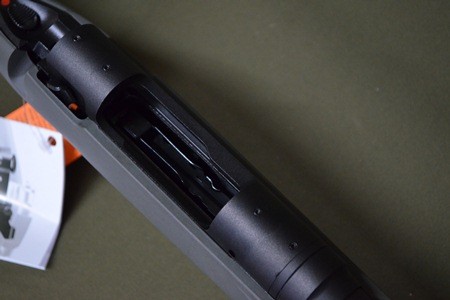
To remove the receiver plug screws use a 1/16 Allen key. Make sure the Allen key is bottoms out in the receiver plug screw to keep from stripping the small plug. In the example the plug screws were not very tight and backed right out of the action.
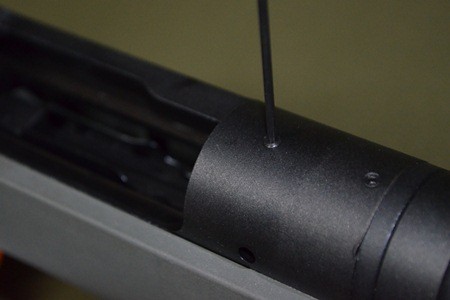
Once the receiver plug screw is removed from the receiver simply thread the plug into the threaded hole where sight base was. Again, use Loctite to keep the receiver plugs from wandering out or from screwing themselves in deeper since the threaded barrel holes are deeper than the plugs are long.
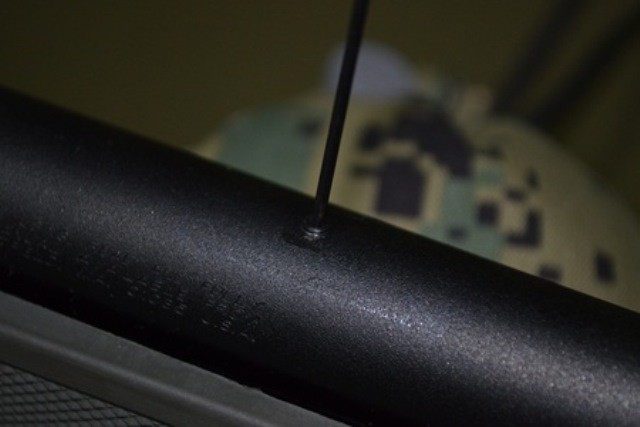
Receiver plug screw installed flush with the barrel
