Just Added: Karsten Cheek Piece A-model installation Instructions
Posted in DIY, Karsten Adjustable Cheek Rest on January 26th, 2009 by Team TWLink to Karsten A-Model installation page
Tools needed:
- Handrill
- 1/4 Drill Bit
- Pencil
Karsten “A” Kit:
- 1-Saddle
- 2-1/4 bolts
- 2-Lock wheels
- 1-Rubber pad
Estimated Time:
- Less than 1 hr.
The first step in the installation of the A-model is to decide where on the stock you want the rest to sit. On bolt action rifles make sure you can cycle and remove the bolt once the cheek rest is installed.

- Checking placement and bolt clearance
The bolt is pulled all the way to the back of the action as if it is going to be removed for cleaning.
Check the placement and the bolt clearance a few times to make sure it fits and the bolt will clear the saddle.
Mark all 4 top hole locations (left and right side of the stock) with a pencil or other marking device that will be visible once the saddle is removed from the stock.

- Holes marked for drilling
Once all 4 holes are clearly marked get our your hand drill. This is the tough part. You’re going to be drilling four, 1/4″ holes in your stock. Don’t worry, if you’ve checked the bolt clearance and you like the position of the saddle on the stock, it will all come together.
The stock we’re adding the Karsten cheek piece to is the stock Savage “tupperware” model which, is hollow, foam filled plastic. The hollow plastic stock is very easy to drill through.
With your hand drill use a 1/4″ bit and place the bit in the center of your first mark and drill. Slower is better here. You may want to center punch the marks and drill a pilot hole if you’re a perfectionist. We didn’t and everything lined up nicely.
Drill all 4 holes (two holes on the left side of the stock and two on the right) until you are through the plastic and into the foam.

- Drill each hole through the stock into the foam.
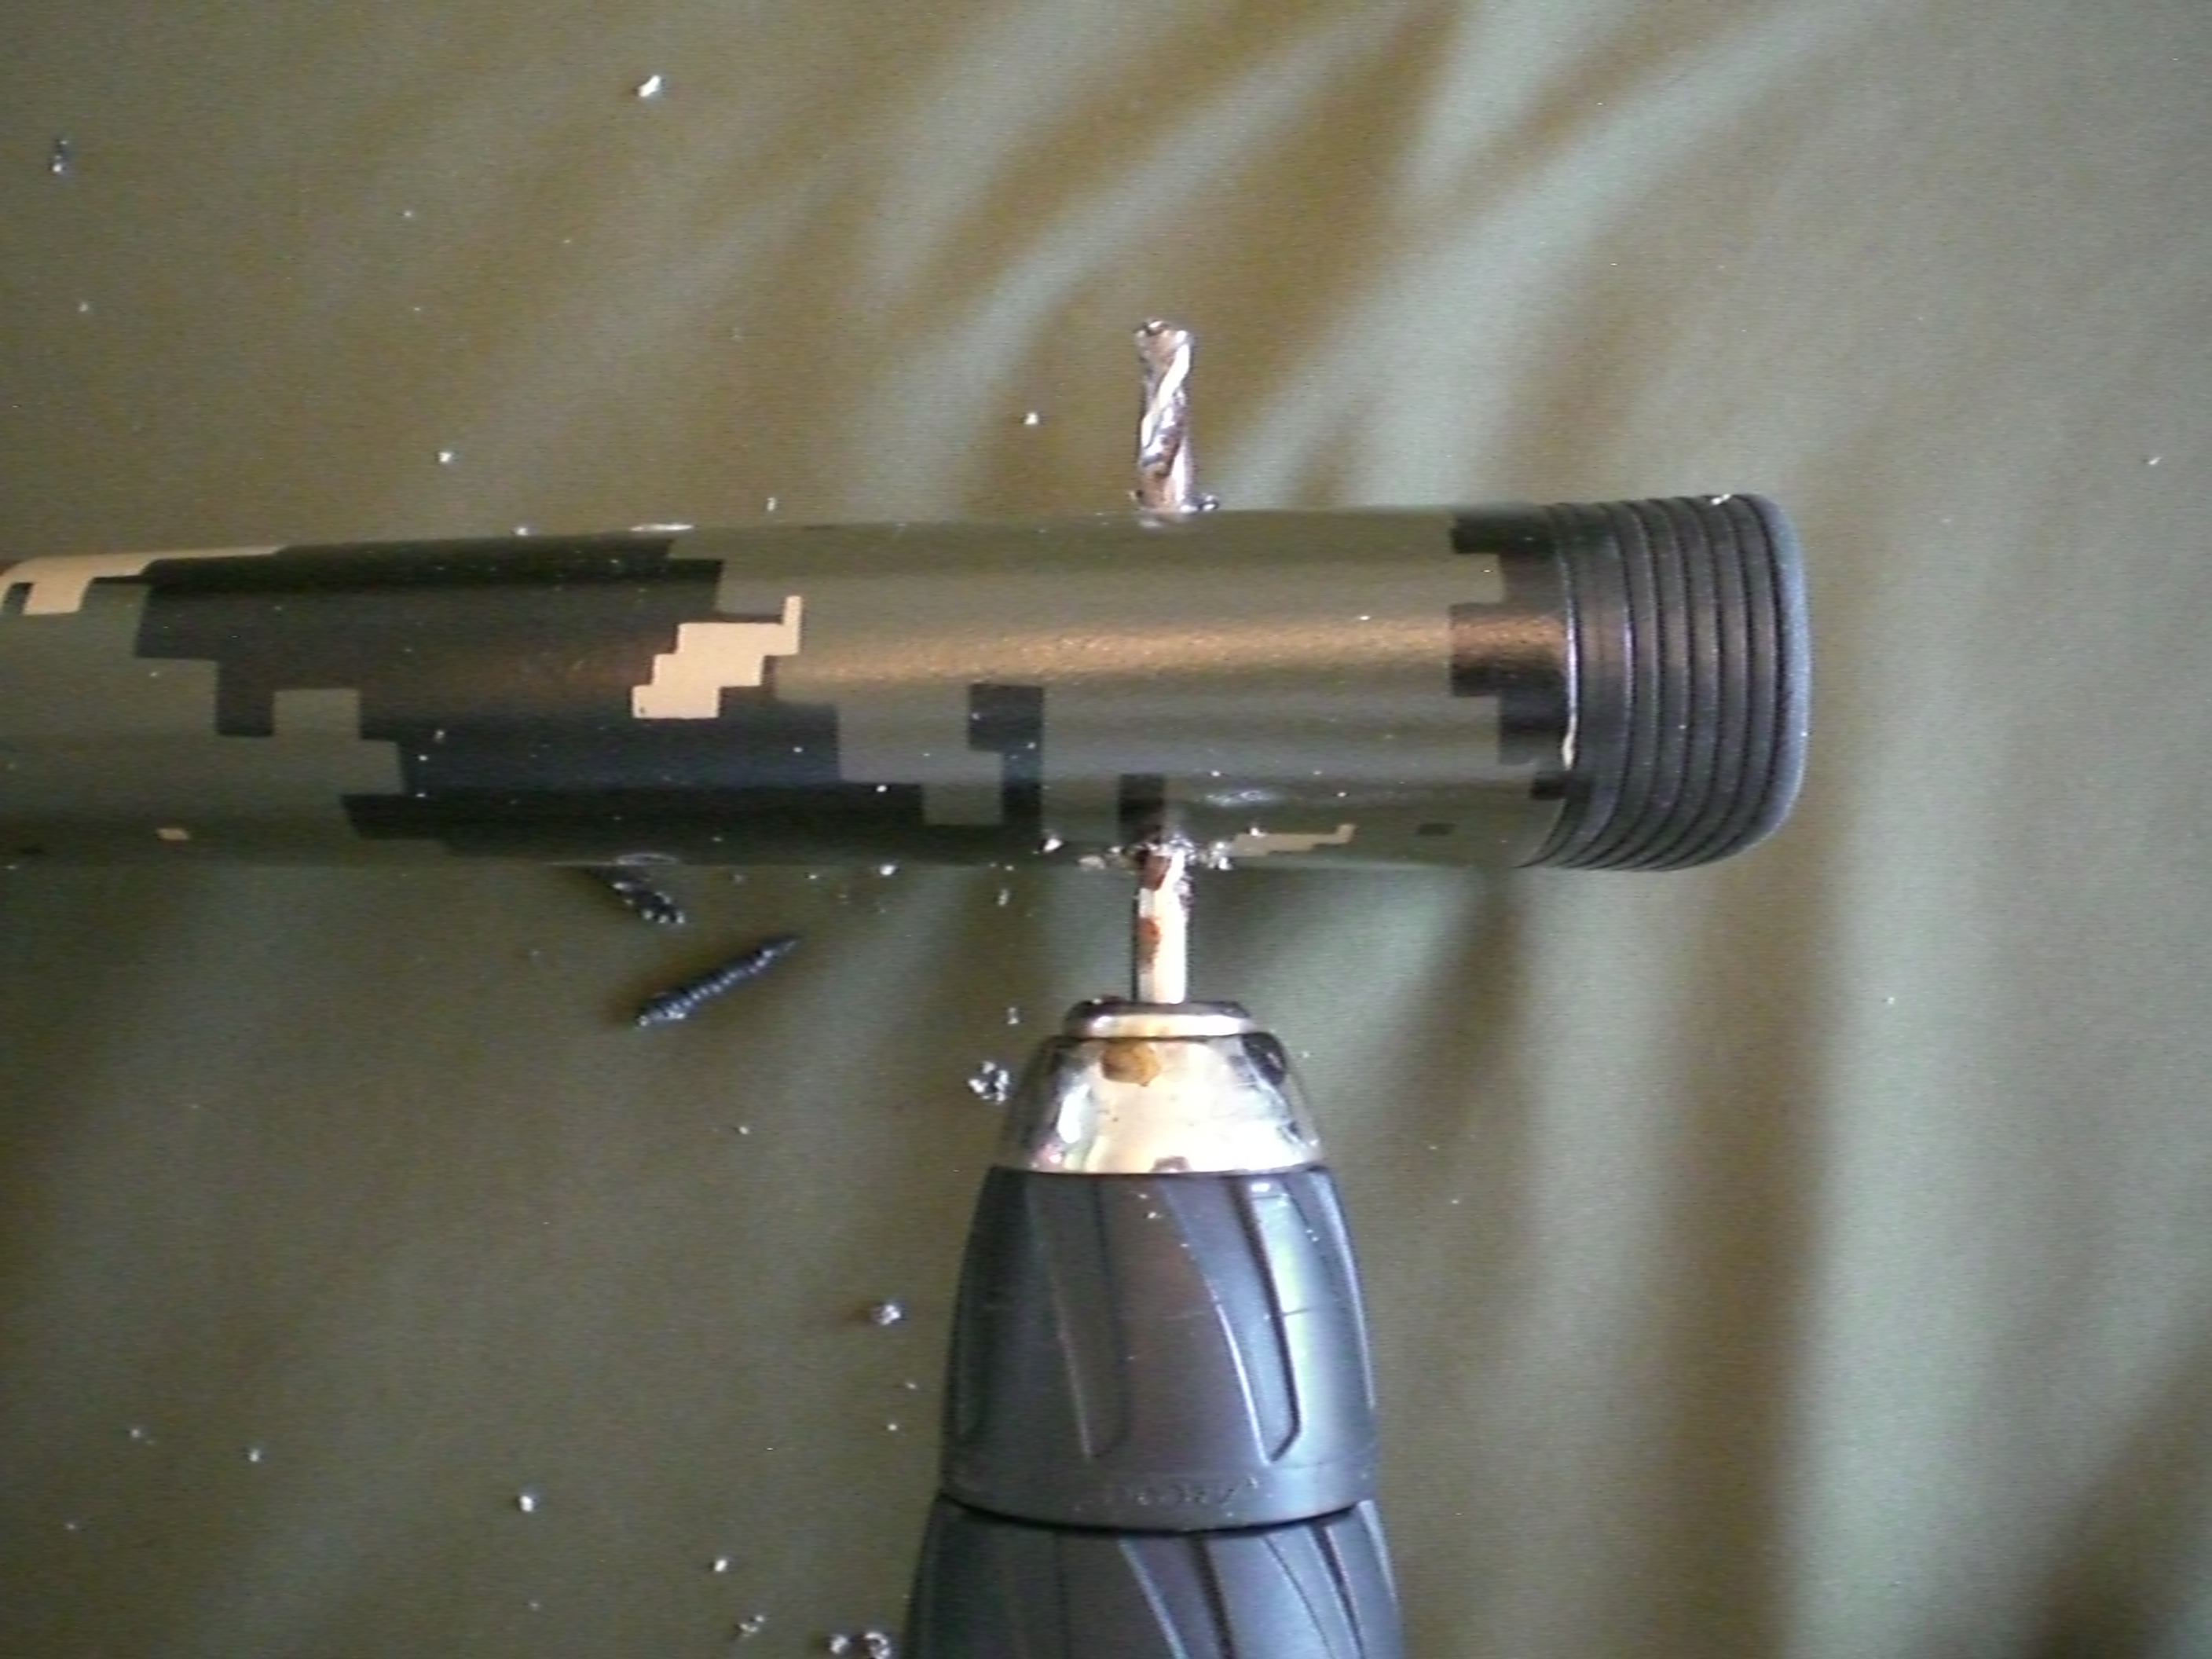
After all four holes are drilled, slowly align the back two holes by passing the drill bit in one hole out the other. Repeat on front holes.

- Clean out the holes by drilling through both holes
Once you’ve cleaned out the holes in the stock, wipe the debris off the stock and slide the saddle over the stock. With the saddle on the stock simply insert the bolts through the holes, and thread the lock knobs on.
Optional:
Included in the kit is a sheet of 1/8th inch rubber that can be glued to the upper exterior surface for a better contact area with the cheek. If you are in hot conditions and/or wear face paint regularly affixing the rubber sheet will give you a more consistent, no-slip, cheek weld.
Suggested glue is 3M 80 or Hi Strength 90 to glue rubber in place.

- Finished Product


